
The opening banner is the first thing visitors see on your homepage: your kennel name and a line about you, over a photo. You can use it two ways. This guide explains both, and the sizes to make your images.
Two ways to use the banner
Select the opening banner on your homepage (see Editing your site on the page). In the right panel, the Words option decides which kind of banner you have.
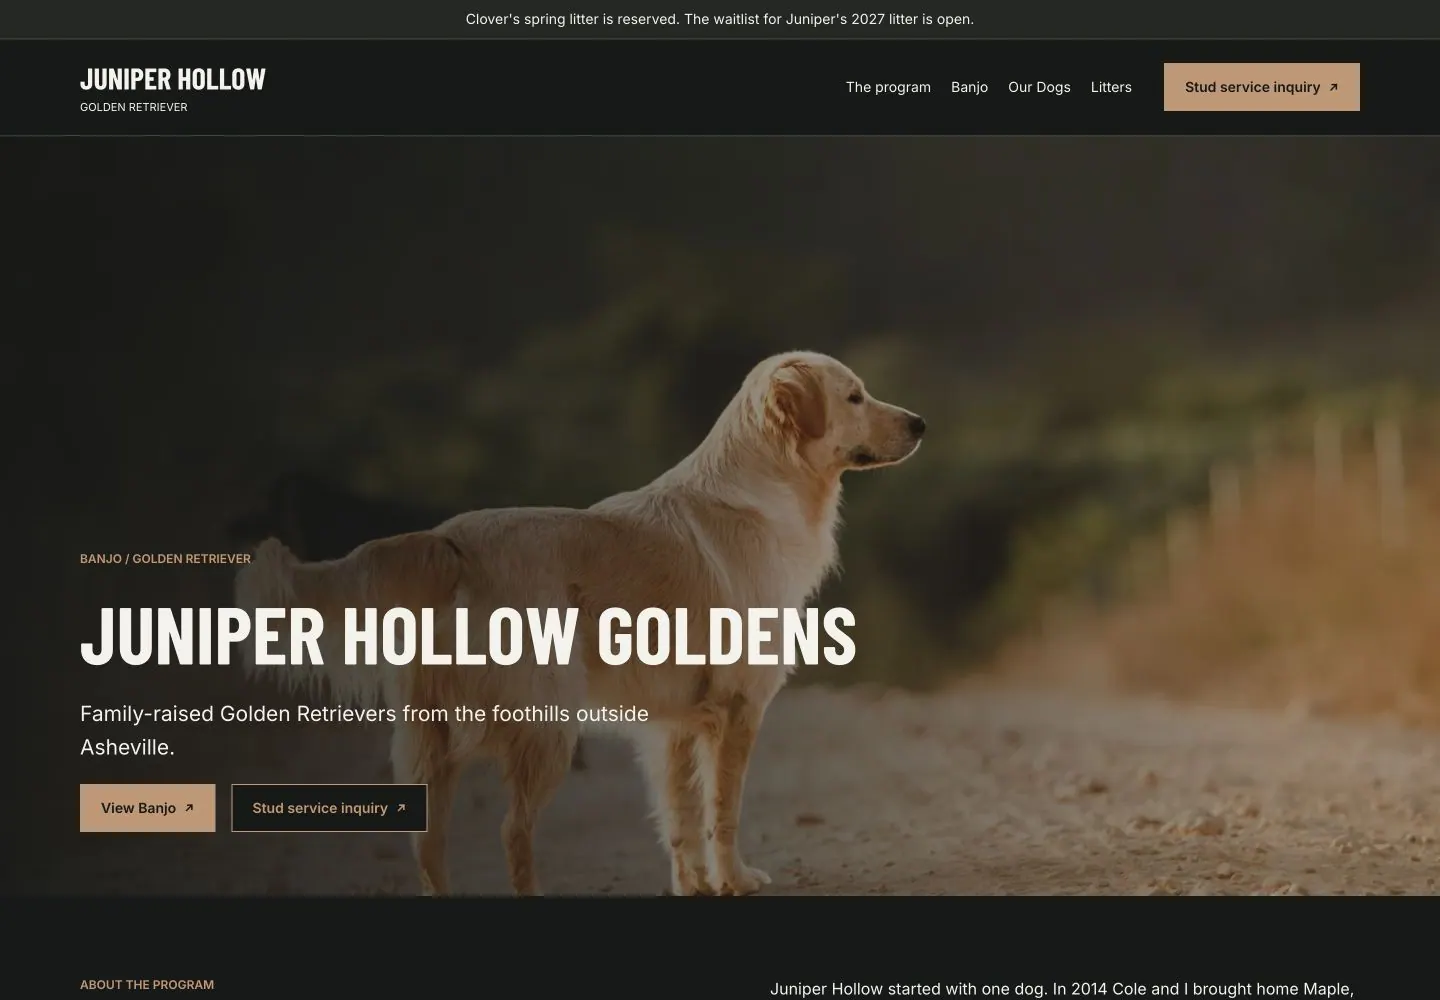
- Words: Show puts your words over a photo. Your template decides the shape and crops the photo to fit, so it works with any good photo of your dogs.
- Words: Hide shows an image you have designed yourself, with your name already in it, such as a banner made in Canva or by a designer. It keeps the image's own shape, with nothing laid over it. An unusually tall or thin image is trimmed around its focal point so the banner cannot take over the page.
Show is the default. Choose Hide only when your image already carries your name.
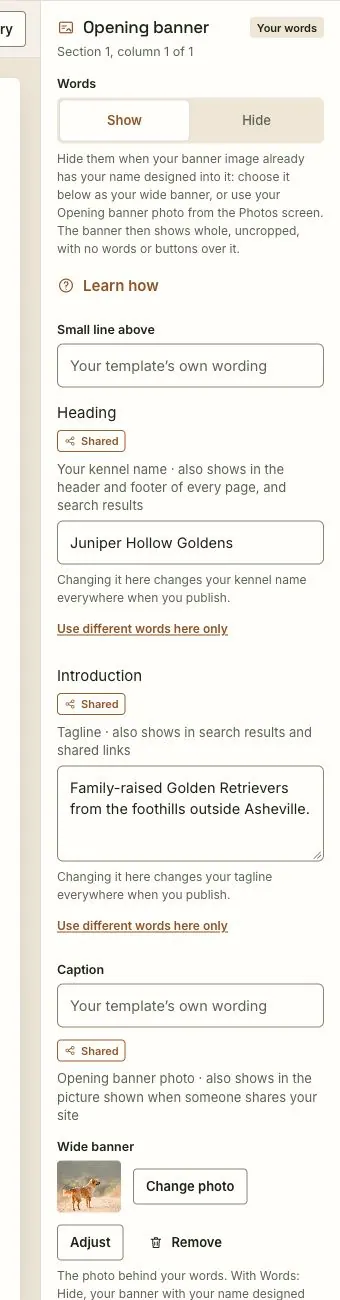
A photo behind your words (Words: Show)
- Fill in Heading and Introduction. Left empty, they use your kennel name and tagline.
- Optionally add a Small line above the heading, and a Caption.
- Under Wide banner, choose Choose a photo and pick or upload a photo.
The photo is cropped to your template's shape on every screen size. To keep the important part in view, such as a face, set the photo's focal point on the Site photos screen. Tap the part of the photo that should always stay in view.
If you don't choose a wide banner, the banner uses your Opening banner photo from the Site photos screen, and if you haven't set one, your template's own photo.
After you publish, the wide banner fills the opening of the public site while your words and actions remain readable over it.
A banner you designed (Words: Hide)
- Set Words to Hide.
- Under Wide banner, choose your designed image.
- Choose Adjust if you need to move the focal point. A designed banner is never zoomed, so its lettering stays whole.
- Optionally, under Phone banner, choose a version designed for phones. This field appears only while Words is set to Hide.
- Publish the page.
With Words: Hide, your heading is still part of the page for search engines and screen readers. Visitors just don't see it laid over the image, because your image already says it.
Phone banner
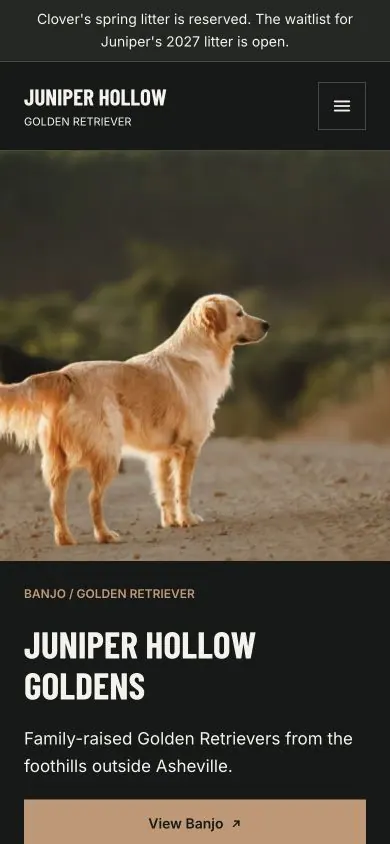
A wide banner made for a laptop screen gets very small on a phone, and a name designed into it can become hard to read. A phone banner fixes that: it is a separate image, taller than it is wide, that phones show instead of the wide one.
- Screens up to 640 pixels wide show the phone banner. Wider screens show the wide banner.
- Each visitor's browser downloads only the one it shows.
- If you don't add a phone banner, phones show the wide banner whole.
The phone banner belongs to this banner only. It isn't shared with the rest of your site.
Sizes to make your images
These are the sizes the editor recommends in each field's tip (the ⓘ beside its name).
| Image | Make it | Shape |
|---|---|---|
| Wide banner | about 2,400 pixels wide | any; with Words: Hide it shows at its own shape |
| Phone banner | 1,200 × 1,500 pixels | 4:5, taller than wide |
Tips for a designed banner:
- Keep your name and any words well away from the edges.
- On the phone banner, make the words larger than you would on the wide one.
- Save it as a JPEG or PNG. iPhone photos are converted for you when you upload them.
The wide banner is shared
Your wide banner is also your site's Opening banner photo, the picture shown when someone shares a link to your website. Changing it in the banner changes it everywhere when you publish, and the publish summary lists it under what else changes.
To use a different image in this banner only, choose Use a different image here only. To go back, choose Use your Opening banner photo instead.
What to expect
- With Words: Show, your photo is cropped differently on a laptop and a phone. Preview both with the desktop and phone buttons above the page.
- With Words: Hide, an image shaped like a normal banner keeps its own shape. An unusually tall or thin one is trimmed around its focal point.
- In the editor's phone preview, you see the phone banner if you added one.
- Nothing changes for visitors until you publish the page.
If something goes wrong
- You chose Hide and your words are still showing. There is no banner image yet. The editor says so under the Words option. Choose a wide banner, or set your Opening banner photo on the Site photos screen.
- The subject's head is cut off. That happens with Words: Show. Set the photo's focal point on the Site photos screen, or choose a photo with more space around the subject.
- Your name is hard to read on a phone. Add a phone banner designed at 4:5, with larger words.
- The banner image looks blurry. It's smaller than recommended. Export it again at about 2,400 pixels wide.
- The banner changed on another page too. You changed the shared Opening banner photo. Use Use a different image here only if you meant this banner alone.
Still stuck? Contact support and tell us which kind of banner you're making.